
1 board · regular
71.80 × 26.58 × 9.40 mm
Base + cap · PETG · 117 KiBSensors
Print a home for one, two or three XIAO ESP32-C5 boards and their sticker antennas. Regular and MagSafe versions, photographed assembly, and downloadable 3MF projects.
The pictured build holds three boards in a single translucent enclosure. Each board keeps its own antenna and USB-C connection, with button access and visible LEDs through the cap.
Print-file revision: September 10, 2026. The featured download is the three-board MagSafe base and cap in one PETG project.
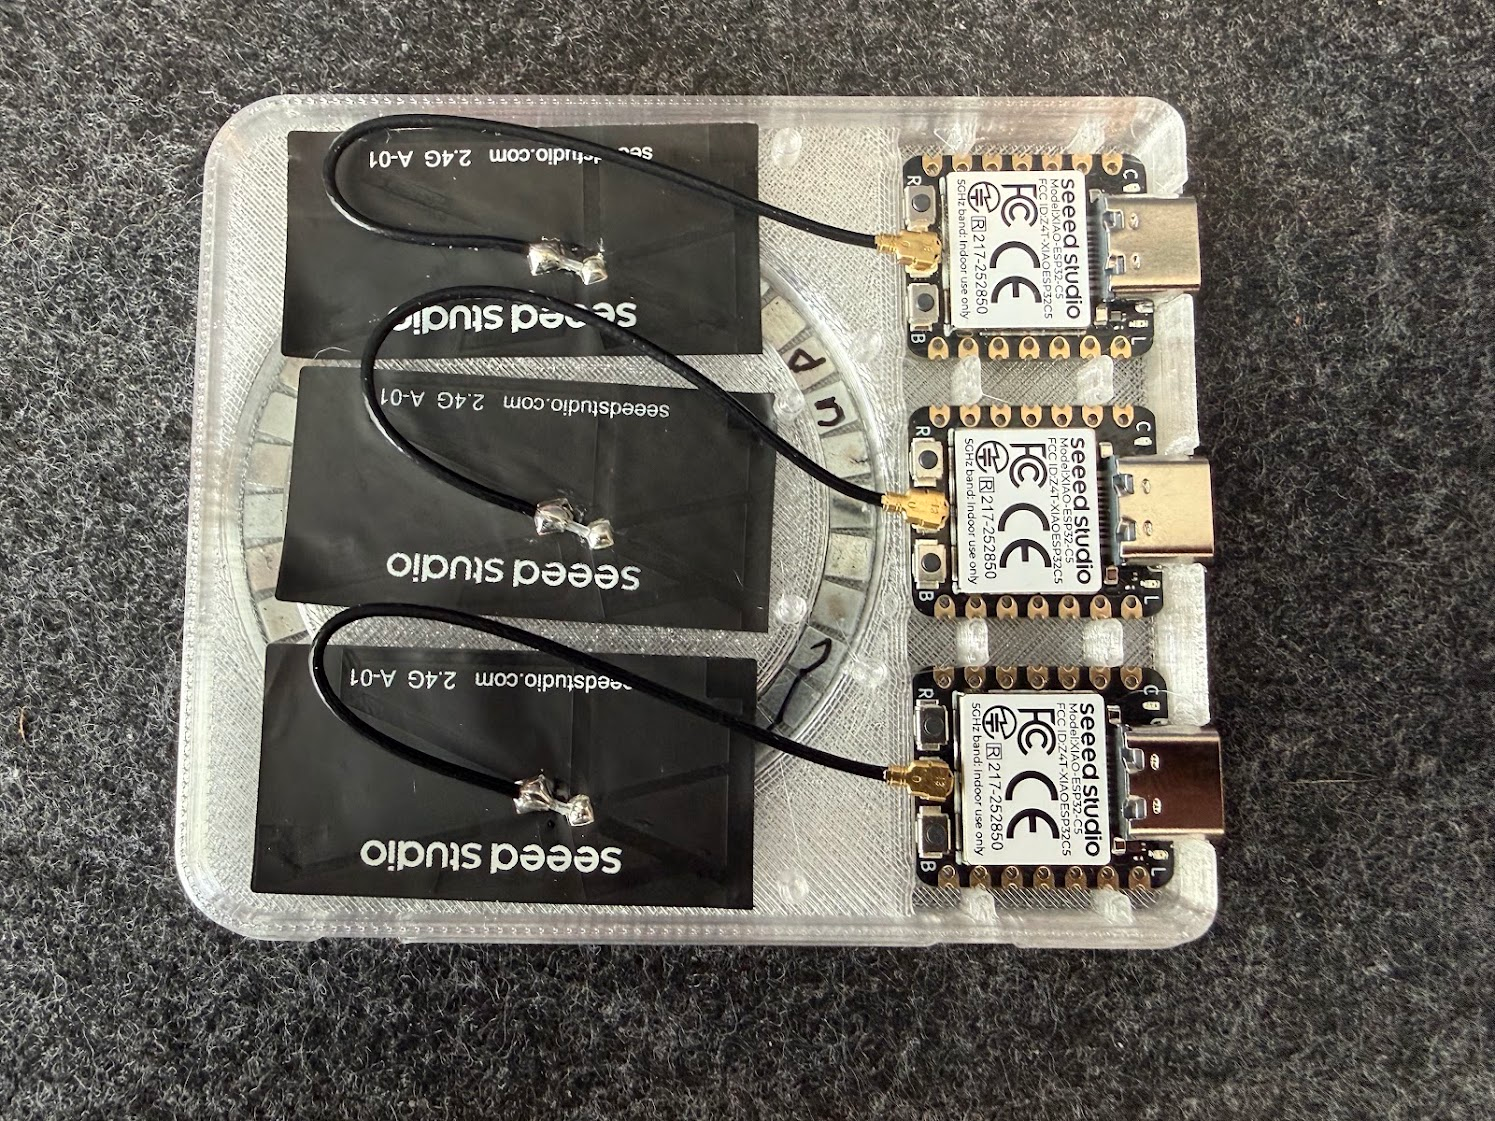
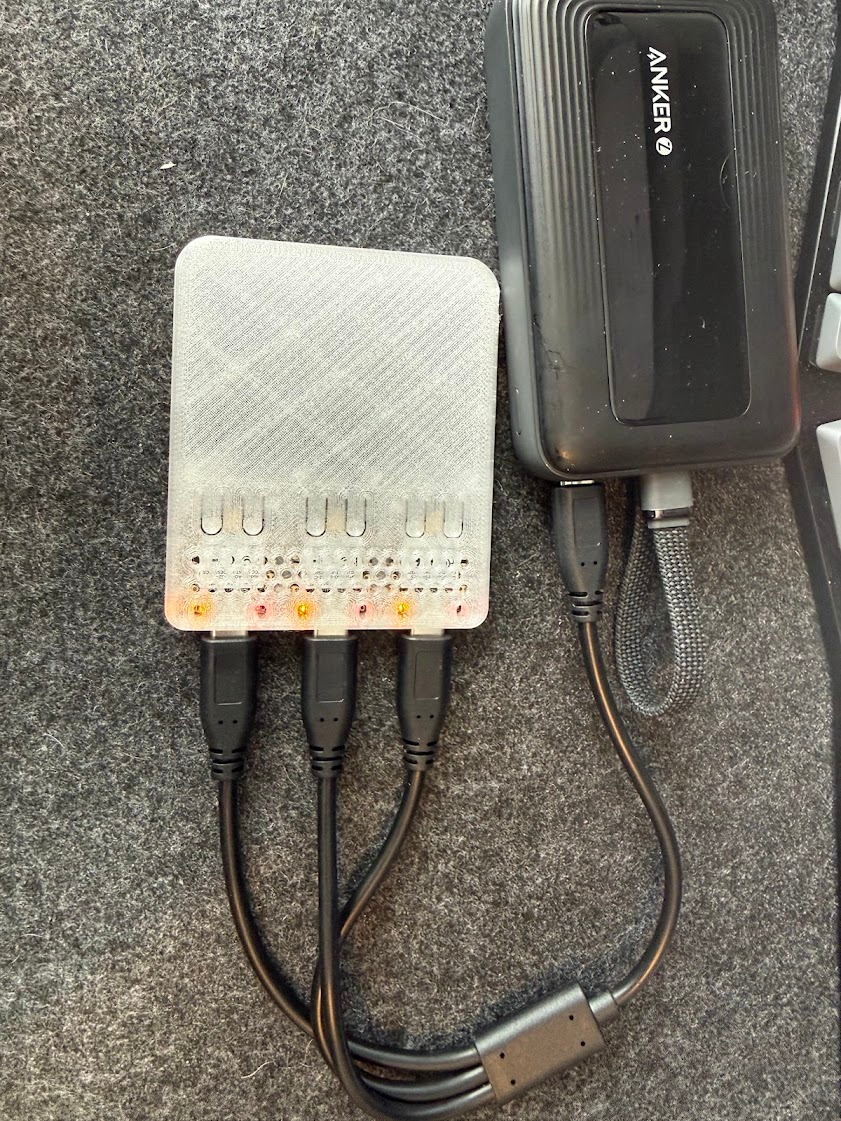
01 / Choose your enclosure
The regular case has a solid antenna bay. MagSafe versions add a pocket for a magnet ring and a larger footprint. Use a matching base and cap from the same size, family and revision.
Paired PETG projects contain both pieces and Bambu Studio settings. Individual parts contain geometry only. For boards with pre-soldered header pins, substitute the matching base with through-holes.
71.80 × 26.58 × 9.40 mm
Base + cap · PETG · 117 KiB82.98 × 60.40 × 9.40 mm
Base + cap · PETG · 136 KiB71.80 × 48.36 × 9.40 mm
Base + cap · PETG · 141 KiB82.98 × 60.40 × 9.40 mm
Base + cap · PETG · 155 KiB71.80 × 70.14 × 9.40 mm
Use the individual base and cap below; add your own slicer settings.
82.98 × 70.14 × 9.40 mm
Base + cap · PETG · 214 KiBStart with the fit coupon. This small USB-end sample lets you check the board seat, USB-C opening and snap fit before printing a full case. Download both the coupon base · 3MF and coupon cap · 3MF.
02 / Before you print
The five paired projects target a Bambu Lab X1 Carbon, 0.4 mm nozzle, textured PEI plate and PETG Basic. Check those choices against your printer and filament before slicing. The downloads are 3MF project or model files, not ready-to-run G-code.
Print the base floor-down and the cap top-face-down, as exported. The regular three-board variant has separate base and cap files; this release does not include a paired PETG project for that variant.
Existing geometry and slicer checks do not confirm the fit of every physical combination. Check the coupon, then test your assembled case for cable clearance, snap fit and button movement.
03 / Put it together
For the MagSafe build: install the ring after printing and test its orientation against the intended phone or mount before gluing. The documented ring is 53.90 mm outside diameter, 45.80 mm inside diameter and 2.60 mm thick, with a 0.60 mm steel yoke. Metal behind an antenna can affect reception; compare your assembled layout with a regular case in the conditions you intend to use it.
04 / Files & attribution
Seeed Studio Xiao esp32 c5 sticker antenna case by DodgeZ, published under Creative Commons Attribution 4.0. The files here are unchanged copies supplied for this site; paired-project filenames have been shortened. Build photographs supplied by WLAN Geeks.
Every download belongs to the September 10, 2026 file set. The ZIP includes all 25 current 3MF files, a README and individual SHA-256 checksums.